

Course Structure
The first thing you should do, before scheduling your events, is to review (and amend if necessary) the course structure in CMIS.
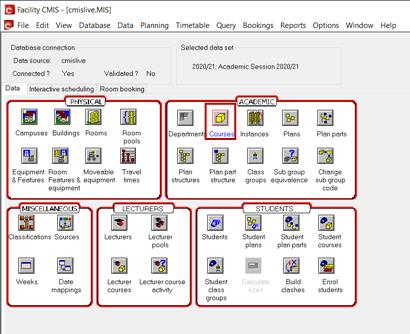
Select the Courses icon in CMIS:
Process
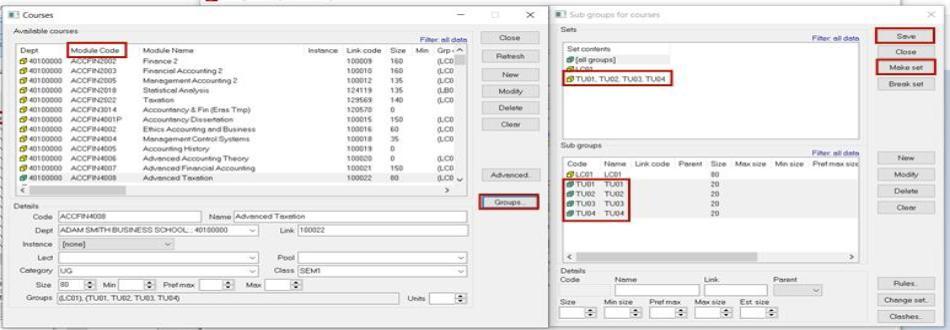
- Find your course by clicking on the top of the column titled Module Code - this will arrange all the courses in alphabetical order - from there, find and click on your course. If you cannot find your course, this may be due to a filter already applied, so right click on the list of courses and select Filter > Clear filter.
- After clicking on your course, details appear on the bottom half of the box (shown in the Courses window below). The overall course size is displayed at the bottom left. This is the size that has rolled over from the previous years’ actual enrolments. If you believe it will be different this year, change it.
- Select the Groups button on the right hand side to check the subgroups (shown in the Courses window).
- This will open the Sub groups for courses window. Update your subgroups (if necessary) to the correct course size. This should match the size of the course in the Courses window. Your different types of subgroup should each add up to the total size of your course. So in the below example as the course size is 120, all of the Lectures should add up to 120, all of the Tutorials should add up to 120, all of the Seminars should add up to 120 and so on. If you have subgroups you no longer need during a session please set them to size 0 and mark any associated events as cancelled. These can be deleted during the Edit and Prep period before the start of a session, but before doing this please make sure they are not attached to any events.
- If not already done, remember to group your subgroup types using Make Set. This is done to allow the same subgroup types to run at the same time without causing a timetable clash. To do this, highlight all the same subgroups and click Make Set - this will then appear as one line on the top half of the box, as shown below.
- Click Save to save your changes
See also: