

Submitting Expenses on Core
The purpose of this document is to provide a guide to using the Core Expenses system. It should be read as an aid to getting started with Core Expense. You should not proceed to using Core Expense without reading this guide. For any questions a query via the self-service help desk should be raised.
Expenses are approved on Mondays and paid the following Friday. Anything submitted before Monday will be checked and if approved paid on the Friday of the same week. If you submit your expenses on a Tuesday, or they get rejected and you amend them you will only be able to be paid on Friday of the following week. If you are travelling for a longer period of time, you can submit expense on your mobile phone through the PeopleXD app, see section 13.
Authority should always be obtained before undertaking any trip, and the sufficiency of funds checked before any booking is confirmed.
The person submitting an expense report should ensure that the expenses claimed represent a valid business expense in line with the University’s expenses policy, an adequate description of the expense is provided (what/when/why/where), the correct cost centre and sub project code is present for each expense item, the expense report is properly dated and all receipts are scanned and uploaded into the system.
The line manager authorising the expense report must be satisfied that the expenses claimed represent a valid business expense in line with the University’s expense policy. Where the authoriser is not satisfied in relation to any of the above points, the expense claim must be rejected. If unsure, in any way, advice should be sought from the Pay & Pensions section of the Finance Office. Full details of the University expenses and travel policy can be found on the Pay & Pensions web pages.
Accessing the system
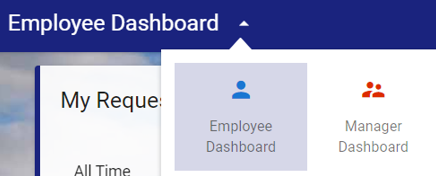
Core Expenses is accessed from the Employee Dashboard. If you have managerial responsibility, your landing page, when first logging into Core Portal, will be the Manager Dashboard. In order to change the view to Employee Dashboard select the CoreHR label at the top left-hand corner of your screen and from the drop-down menu choose Employee Dashboard.
Once you navigated to the Employee Dashboard, select the world icon on the menu on the right-hand side.

You have accessed Core Expense.
Claiming expenses
Prior to creating your Expense Report, it is recommended that you scan all your receipts and store them in an appropriately named folder in your computer. Give each receipt a recognizable filename. For input into the expenses system filenames must have no spaces. An example of an appropriate name would be HotelReceiptLondonTrip or TaxiReceiptLondonTrip. A good tip is to put the date in front of the description e.g., 20231120Train which should provide a degree of uniqueness for each receipt. Please note that iphone fotos (.heic) files cannot be opened by the approving team, so please upload in pdf, png, jpg, jpeg or doc/docx format.
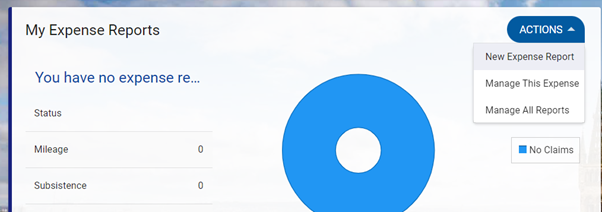
Under “My Expense Reports” select “New Expense Report” from the Actions button.
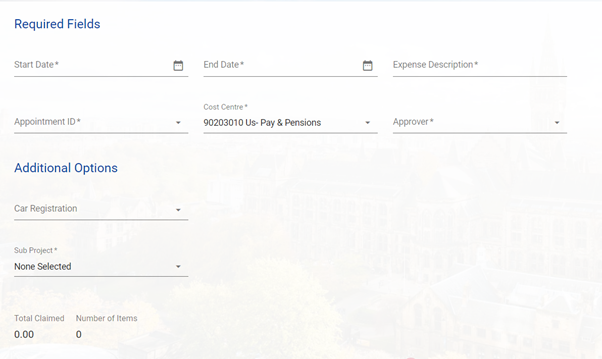
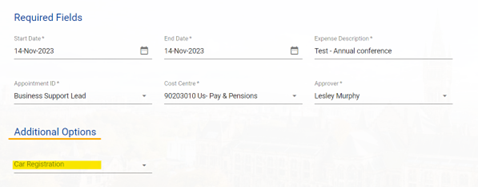
Fill in all the fields provided. You only need to fill in “Car Registration” if you are claiming mileage.
Your report is for a single business trip. The Dates from and To boxes span the entirety of your trip and are the dates you were travelling for. If you have received an advance for this specific business trip it is important that these dates match your trip dates from your advance.
You need to select your Appointment details from the drop-down list. If you have multiple appointments within the University, you can make your selection here. This will affect your cost centre and approving manager.
Your Approver will be pre-populated in the drop-down list with the name of your line manager associated with your appointment as held in the Core HR/Payroll system. If your manager in Core is not correct, please contact HR to get this rectified. If you do not have a drop-down menu for the approver please make sure you have selected your appointment.
Enter a meaningful Description for your Expense Report. This description will filter through to management reports produced in Agresso and is important for future reconciliation of claims to research project funders.
Sub Project choose your sub project from the drop-down list. This list contains only sub projects associated with the Cost Centre code that you chose earlier. If you have only been provided with a sub-project code to use, please contact your manager to provide you with the cost centre the project code belongs to. If you are using a different sub project code to your usual one please make sure to select the code at this stage.
Once complete press the Save button.
On the same page, click the “New Expense Item” button.

A new screen opens.
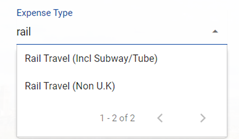
Select the Expense Type from the drop-down menu. Note the list is in alphabetical order. You can also type in the box and all relevant options will come up.
Fill in all the other details and upload your receipts.
Please enter as much description as possible in the Expense Item Description field. Note that this is the main information the approver will see. Please be aware that all expenses are approved by finance after your manager approves them and the finance officer will not be aware of the details of your travel arrangements.
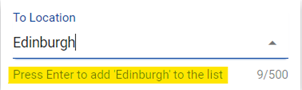
For your From Location and To Location the system will save your list of previous locations. If this is your first trip or you have no saved locations, write in the place e.g., Glasgow and then press “enter”. This will add Glasgow to your list of locations. Do the same with your To Location.
If there is a requirement to charge costs to an alternative Cost Centre/Sub Project, you can amend these at this stage of the process. Choose an alternative from the drop downs provided. Please be aware that for the system to charge correctly you have to select the same sub project code on the main screen and here. If you have not changed your sub project code on the main screen do this before changing it on an expense item because they system will overwrite your sub project code with what is on the main screen.
Once you entered all details press save or save and add new.
You can now see a list of all expense items already entered for this trip.

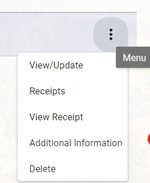
To make amendments click on the three dots and select the needed option. You can also delete expense entries.
Once your claim is complete click the submit button at the bottom of the page.
Please note that all items without receipts will be rejected by finance.
Claiming expenses in foreign currencies
Follow the same process as for domestic claims.
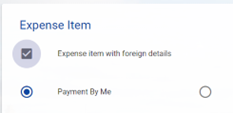
On the Expense Details page, you have the box “Expense item with foreign details”, tick this. It is important to tick the box before entering any details as ticking this at a later point will delete all subsequently entered data.
Once you entered your From and To location the system will automatically select the appropriate currency and show you the current exchange rate.

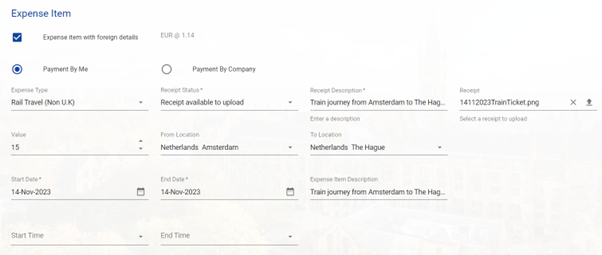
In your Expense Item list, you can see the converted value.
![]()
In this case I entered a train ticket for €15 and the system has calculated £13.16 to be paid out to me.
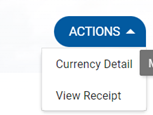
If the currency exchange rate is unsuitable (has changed significantly since your travel) you can amend this by clicking Actions at the top and currency details.
In the pop-up window, you can amend the rate. Please fill in all details. If you choose to use this option, some proof will be required along with your receipt.
You can also select a different currency from the dropdown menu if you paid different to the countries default currency.

Business Entertaining
When claiming for business entertaining or meals taken with others you must choose the Expense Type called Business Entertaining/Meals.
Complete everything as with other expenses.
For Business Entertaining meals the additional details will have to be provided, detailing all attendees at the event.
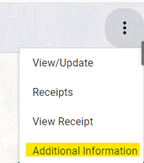
To add additional details, you must save your expense first and then on the main screen click on the three dots and select the option additional information.
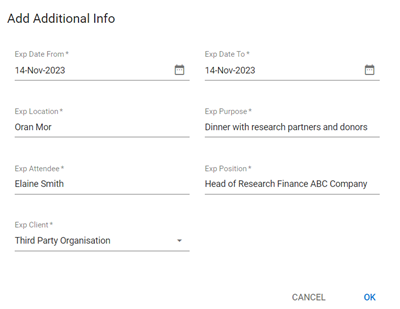
Click on the “Add Additional Information” button.
This information must be entered for each attendee. Please note if the information is missing your expense claim will be rejected.
In the Location field you should enter the name of the establishment where the event or meal took place.
You must provide a reason for the event/meal in the Purpose field.
Against Exp. Attendee you must enter the name of the individual.
Against Exp. Position enter the job role of the individual.
At Exp. Client you must enter whether the individual is a University of Glasgow employee of whether they belong to an external company.
Click on “Add Additional Information” to add further attendees.

Once all attendees have been entered click the back button or “Expense Report”.
Claiming mileage
If you intend to claim business mileage as a private car user, you must register your car in the system and provide details of your insurance provider and license.
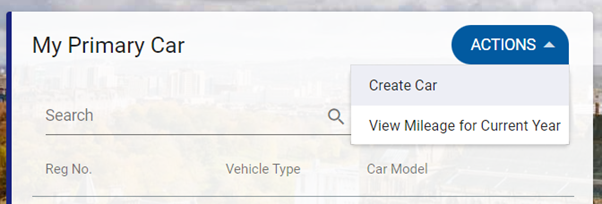
Go to the section “My Primary Car” and from the actions button select Create Car.
Fill in all details on the next page. Please note your car will be rejected if information is missing and you will have to resubmit. Enter you engine capacity in cc and not litres.
Once your vehicle has been approved you can claim mileage. On the main screen of your Expense Report, you must select your car under “Additional Options”.
This is a one-off set up task and does not need repeating for every expense report you create.
As with other expenses click on “New Expense Item”. Select the Expense Type “mileage”. Enter the number of miles for your journey, round any part-miles, up to the nearest whole number.
When you select mileage, an additional item called Mileage Calculator is made available for selection from the Actions button.
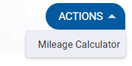
If you do not know the mileage detail of your journey clicking on the Mileage Calculator will take you to the website of the AA where you can use the AA route planner which will calculate mileage distances between two place-names or post codes.
Input the From and To Location of your trip. There is no facility to record return travel. Each leg of a return journey should be recorded separately. You should input the name of your ‘to’ and ‘from’ locations rather than the Post Codes.
Enter a Description of your trip; sufficient information must be provided to ensure that your approver can understand the reason for your claim/travel. Here, you can state if the journey is one-way or return.
Expense bank account
You need to have entered a Bank Account for your expenses to be paid into before submitting an expense. Otherwise, you run the risk of your expense being rejected due to missing Bank Details.
On the Employee Dashboard navigate to the Pay tab.

Under My Bank Accounts you can see the bank accounts set up.
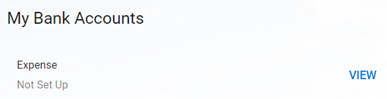
Here we see that no Bank Account for expenses is set up yet.
Click on View on enter all details as you did with your salary bank account.
If you are using a building society and they have provided a reference number, then enter this in the Building Society Reference field and then re-enter it in the Confirm Building Society Reference field.
If you are not using a building society, you can leave these fields empty.
Keeping track of your expense report
The Expenses tab offers users the ability to keep track of expense reports that have been saved, submitted, or paid. Saved reports can be further edited before being submitted for approval.
To edit an expense report, go to Actions and Manage All reports.
You can see a list of all Expenses claimed so far.
Any line showing up as “New” has not been submitted yet for approval.

Clicking on the three dots you can choose to view, amend, submit, or delete.

If you want to update a submitted claim you will have to unsubmit it first. Please note you cannot unsubmit a claim that has already been approved by your manager. Once a claim is submitted you cannot delete it anymore, you will have to unsubmit first and then delete the claim.
View the rejection reason of an expense
To view the rejection reason of an expense claim go to the expense tab on the employee dashboard. Click on Actions and manage all reports.
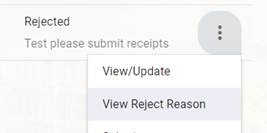
The reason is displayed below the status.
![]()
You can also click on the three dots, and then view rejection reason to see the full text in a pop-up window.
Resubmitting expenses after amendment
From the manage all expense report, click on the three dots, and select view/update.
This leads you to the main expense Report. From there you can go down to your expense items, click on the three dots and select view/update to make amendments on the item.
Click on Save which will return you to the main screen from which you can submit your expense again.
Approving expense reports
If you have managerial responsibility, it is likely that you will need to Approve an Expense Report at some point. The managers’ role is to ensure that the expenses claimed represent valid expenditure under the University Expenses Policy. If any item is out-with the policy, then the Expense Report should be rejected.
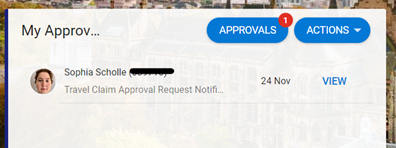
In the Manager Dashboard, navigate to the approval page. The flag on the left-hand side.

This will bring up all items waiting for your approval.
Click on view next to a report to see the summary of the expense report.
To check the receipts, click on the three dots next to submitted and select view expense details.
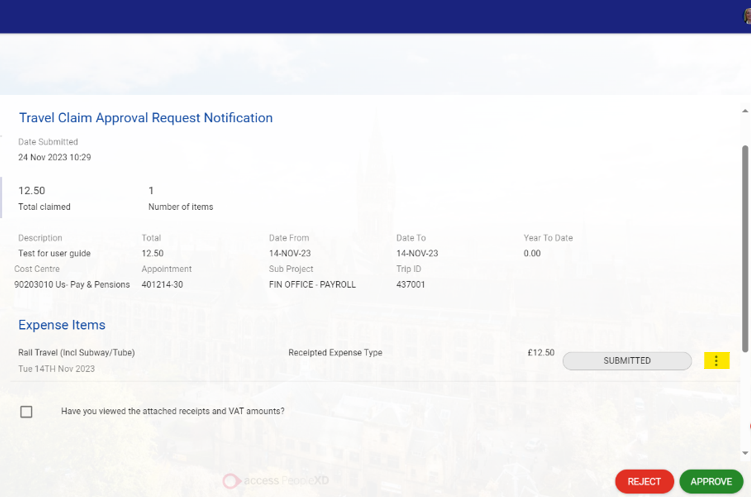
Once you are on the expense detail screen, click on Actions and select view receipt.
Go back to the main Travel Claim Approval Request Notification screen and if you have checked the receipts, tick the box “Have you reviewed the attached receipts and VAT amounts?”.
Check the certification box “I confirm that the above details are correct” to confirm that the expenses are valid and comply with University Policy and press Approve. The Expense Report has been Approved.
This will now show as approved on your employee’s dashboard.
Submitting expenses from mobile
Download the Core HR App, see details here.
Log in with your University of Glasgow Email address and Authenticator.
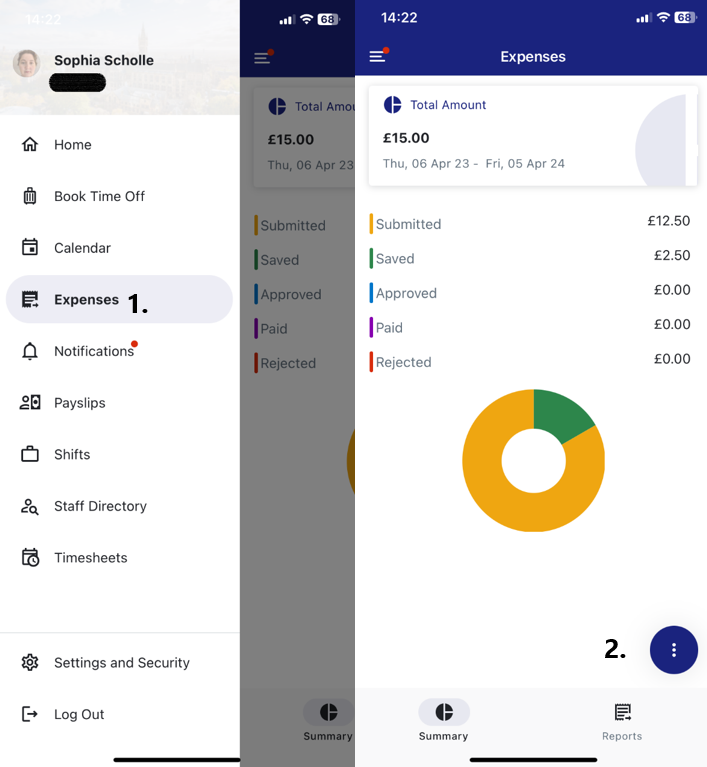
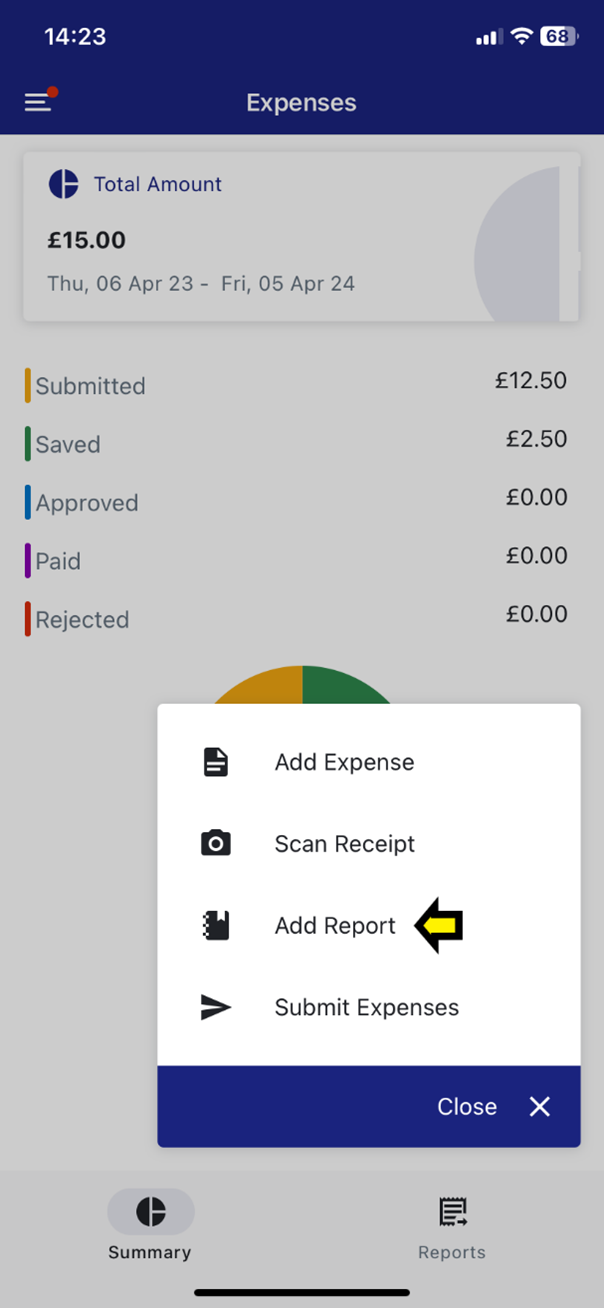
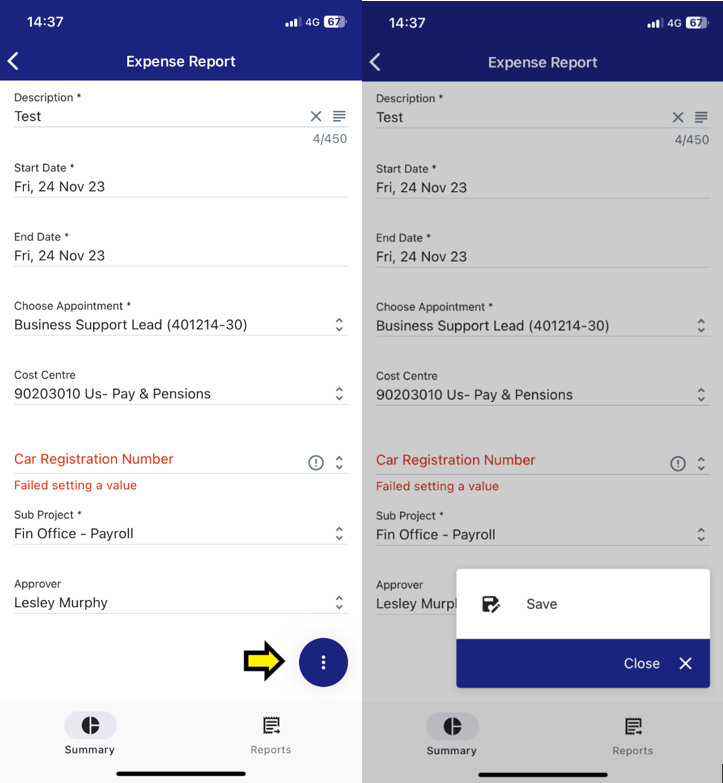
Navigate to Expenses in the Menu. On the Expenses page tap on the three dots on the bottom and tap on Add Report. This will lead you to the Expense Report screen which is the same as on the web version.
Enter all the details and click on the three dots at the bottom of the page and select save.
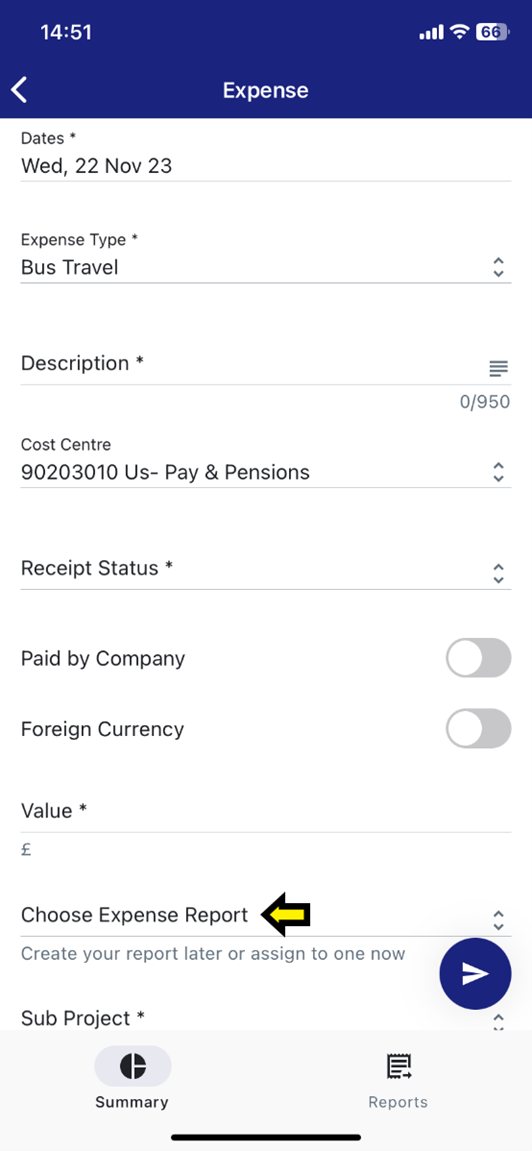
You will automatically return to the main expense overview screen. From here, click on the three dots again and this time select the option Add Expense.
This is the same menu as on the web version; however, you will have to select which expense Report this expense item belongs to. Tap on the Choose Expense Report button. This will show the option of all currently unsubmitted reports. Select the report you just created from here.
From the main Expense overview screen, you can tap on Reports and see all your saved expense reports. Select one of them and from there tap on the three dots again and select submit.